
2 Ice Ornament Crafts [Science & Sensory Fun]

We had been enjoying blue skies and beautiful weather all week–right up until a cold front blew our butts back inside. Now we are looking at a forecast of rain and freezing temps for days. It’s hard to not get disappointed. What about all those outdoor activities I had planned? What I am I going to do with these crazy kids now? All hope is not lost. Parents are well practiced at pivoting, and I have pivoted right into one of our favorite cold weather crafts: Ice Ornaments!
I am going to walk through two different ways to make super easy and fun Ice Ornaments. Below you will find instructions that appeal to a broad range of age and abilities along with a video of us creating our very own Snowflake Ice Ornaments! I have even included a variety of bonus educational resources and books to help turn your crafting time into a full learning experience.
DFWCS participates in the Amazon affiliate program, but DFWCS is in no way associated with Amazon or the items listed in this post. This post may include affiliate links that support DFW Craft Shows at no additional cost to you.

What is an Ice Ornament?
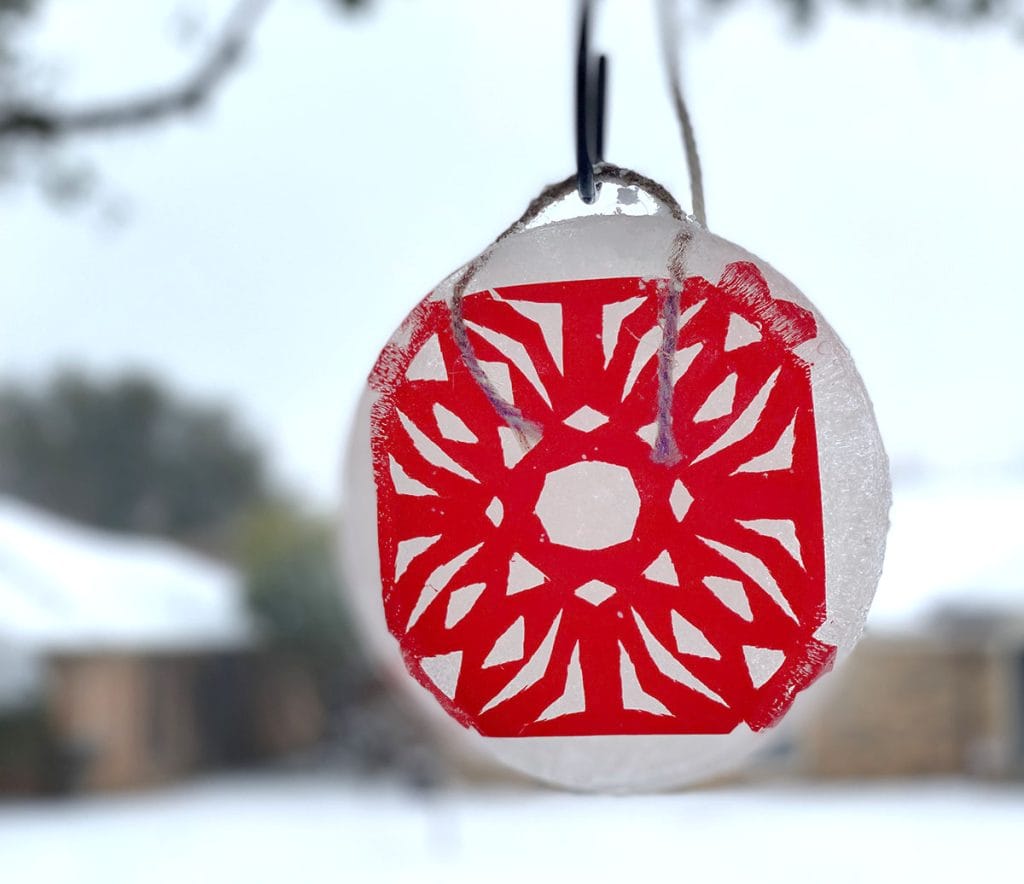
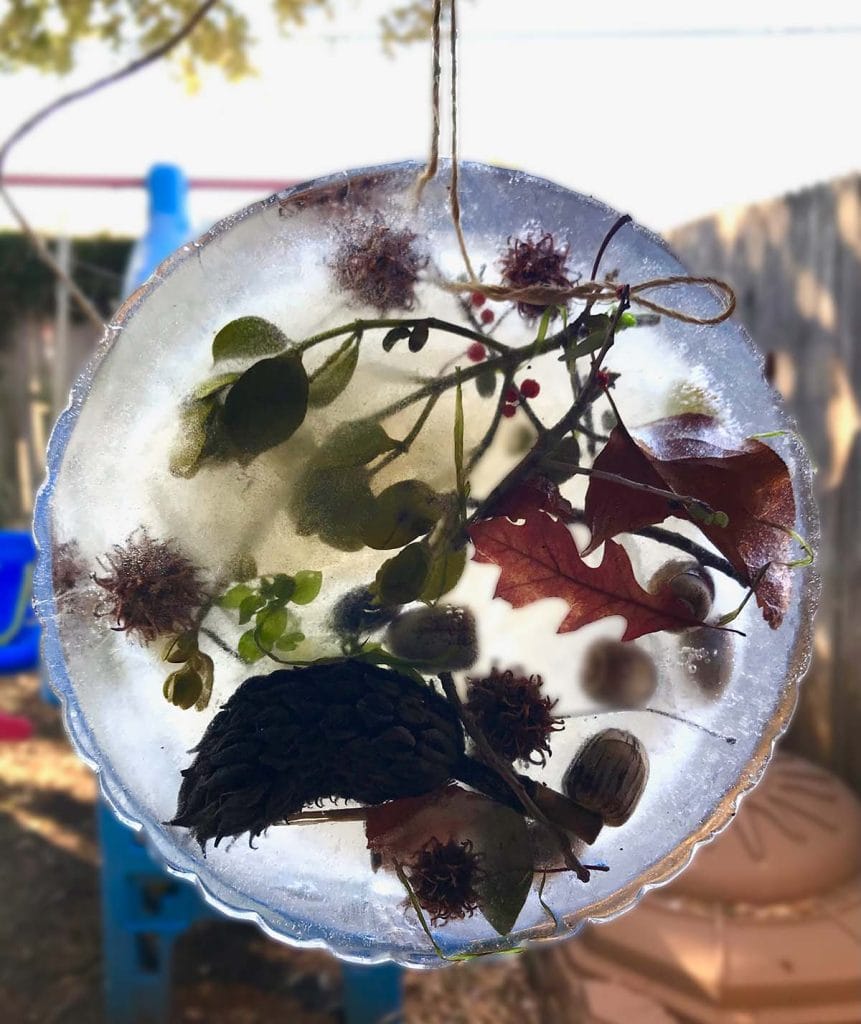
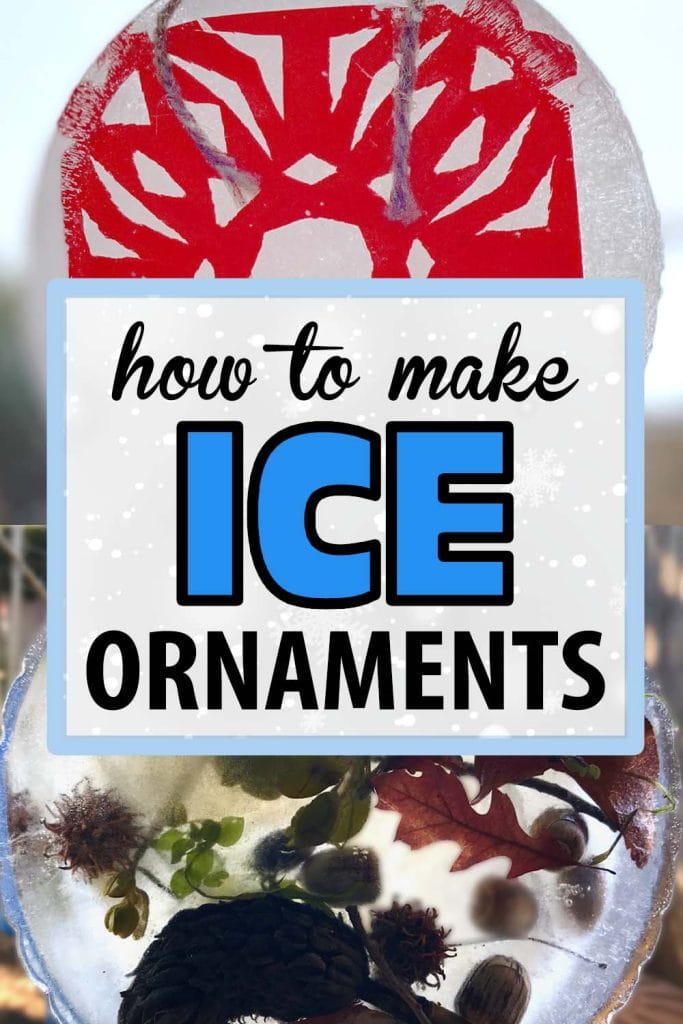
An Ice Ornament is an arrangement of decorations that have been frozen inside a large block of ice and hung up outside. Ice Ornaments come in all sorts of formats, and today I want to cover two different approaches: A Snowflake Ice Ornament and a Nature Ice Suncatcher. Both of these crafts are fun, easy, and pretty much free. Ice Ornaments appeal to all age ranges and offer a fun way to experience the science behind a cold front, celebrate nature, craft together, and brighten up your own winter landscape.
Cutting your Snowflakes
Are you ready to jump right into it? Making Snowflake Ice Ornaments is almost as simple as making paper snowflakes and… ice!
Working with Young Kids
If you are working with a child that is too young to cut out their own paper snowflake, I recommend giving them several sheets of colored paper and letting them cut out shapes to their hearts content. We will talk about how to incorporate them in a moment.
Creating your Snowflake
The sky is your limit when it comes to the snowflake part of this craft. Well, that and the size of your pan, plate, or assorted vessel. For best results, you want your snowflake to lay flat within whatever kind of dish you are using. That means you can either measure your paper before you get started, or trim up your snowflake later.
After that, it’s all up to you baby. If you need the general instructions for making a snowflake like we are using, here you go:
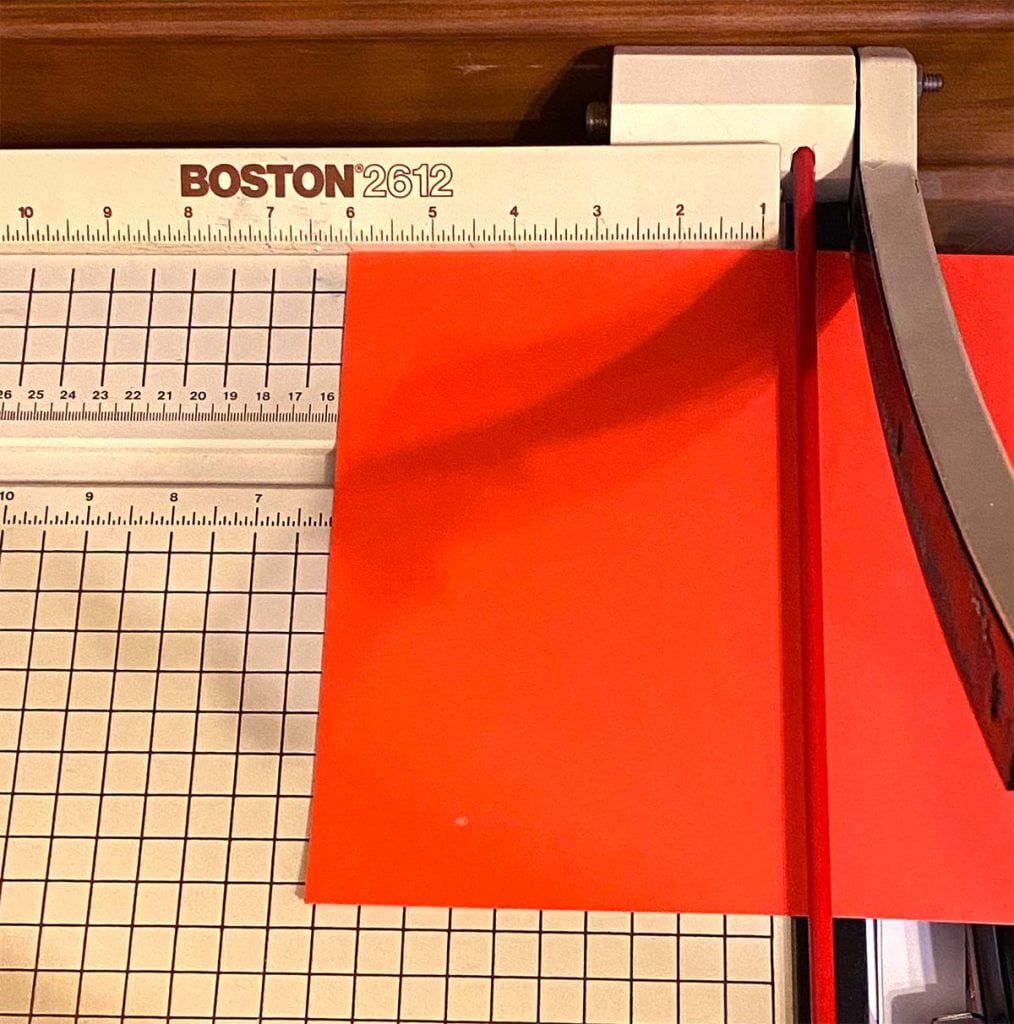
- Using a paper guillotine or straight edge, cut your paper into a square
- Fold the paper over so you have a long rectangle
- Fold the paper over into a square again
- Fold the square into a triangle
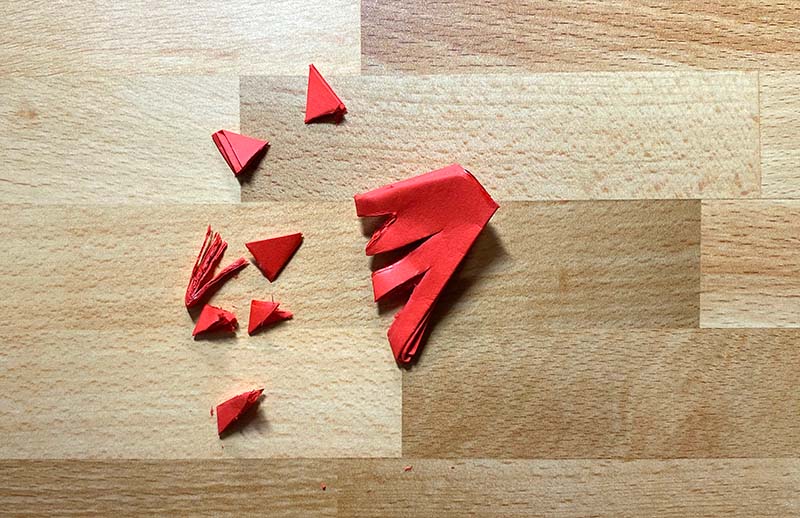
- Cut along the folded edge into whatever pattern you would like
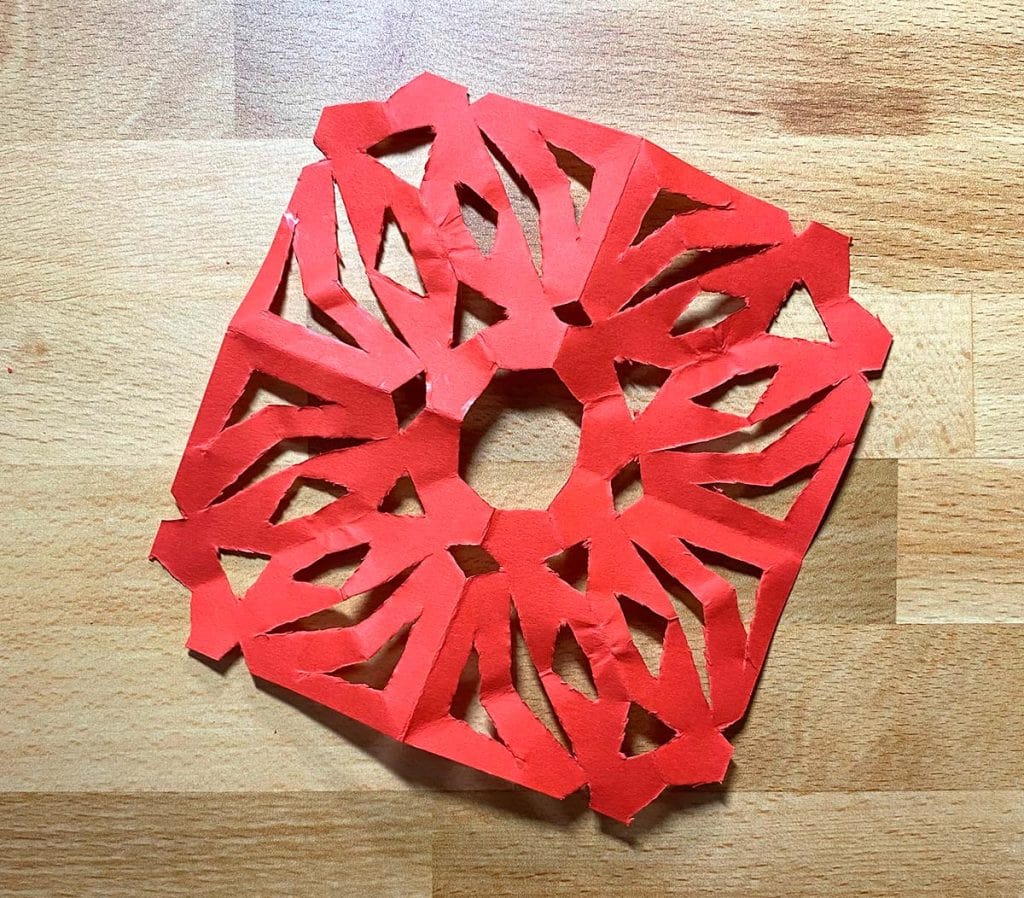
- Unfold!
If you need a visual walk through, check out our video tutorial. If you are only making Snowflake Ice Ornaments and saving your Nature Suncatchers for another time, skip ahead to Preparing your Ice Ornament.
Supplies for Nature Suncatcher
- Assorted finds from nature
- Twine or yarn
- Pan, pie dish, or plastic plate with a lip
- Freezing temperatures
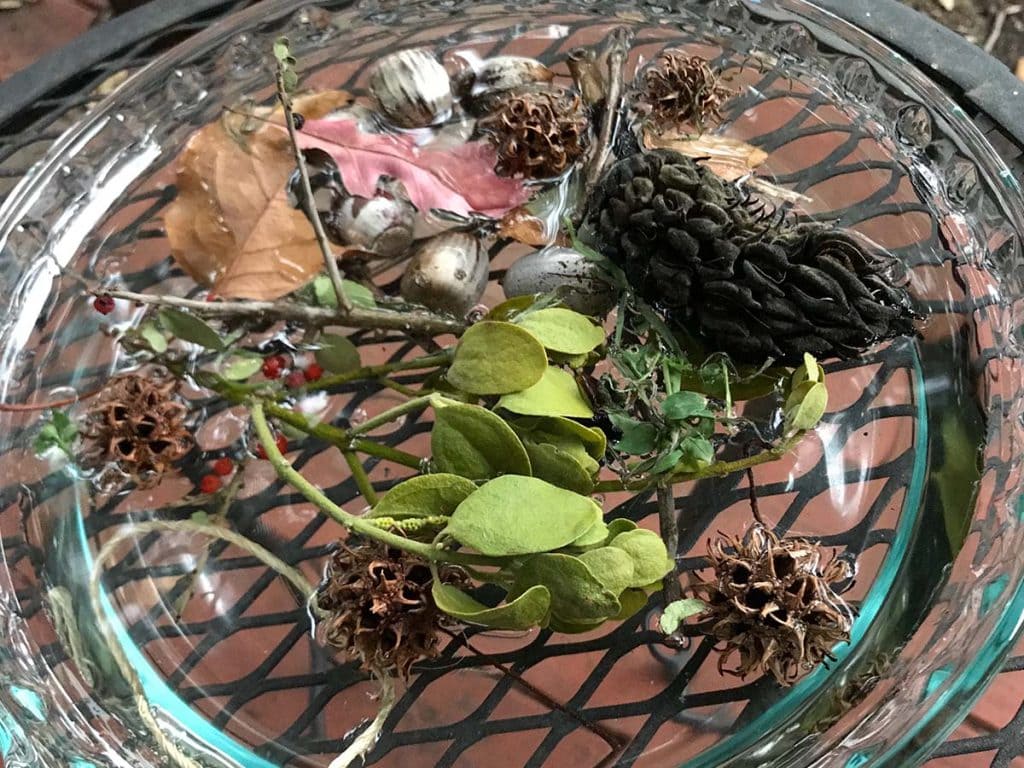
This activity can be so much fun for kids of all ages, especially when you have nice weather and know a cold front is coming. Spend some time outside gathering all sorts of nature finds around your neighborhood or parks and keep them together for your crafting time later. Some ideas include seed pods, pinecones, greenery, nuts, and small branches. You can even add bird seed into your nature finds to help feed your local wildlife as your Ice Ornament melts.

Preparing your Ice Ornaments & Suncatchers
Once you have your snowflakes cut and your nature finds gathered, it’s time to start staging your Ice Ornaments. This part is simple and especially fun for the littles.
Arrange your containers
Arrange the pans or plates that you have gathered. You may do this part either inside or outside, knowing that we will be adding water in a bit and there could be some small spills. I always opt to do this part inside because it’s usually cold and no thanks.
Let your kiddos add their snowflakes, paper cutouts, or nature finds to the dishes. Remind them that things will shift and move as you add water and carry it outside, so there is on reason to get too focused on the idea of a final arrangement.

Just Add Water
Once you’ve arranged everything in your dishes, add enough water to mostly cover your paper snowflake, paper cuttings, or nature finds. If you can stomach a little mess, I highly recommend letting your kiddos do this part. They can tweak and perfect their arrangements after they are finished–playing with water is never not fun.
Tip: For the youngsters, consider measuring out a small amount of water and putting it in a small cup or bottle to reduce messes.
Loop a piece of twine and add it to the dish so that the ends are submerged and the loop is outside the water. Wa-la! Your Ice Ornament is ready to be exposed to the elements. Carry your containers outside and find a safe spot to leave them in overnight. It may be tempting to leave them right outside your door, but I would caution against this. Unless your house is way less drafty than mine, the area right next to your front door may still stay warm enough to prevent your creations from freezing.
The Big Reveal
The kids were super excited to rush out the front door the next morning, and not just because it finally snowed here in Texas. It was a lot of fun for them to uncover their dishes and discover their frozen creations. I hung them from our trees, and we all enjoyed looking out at them for days.
It is hard to decide which are our favorites: the Snowflake Ice Ornaments or the Nature Suncatchers. I think it’s fun to have both options: one for when you feel like getting outside and foraging, and one for when you don’t! Whichever you choose, there are so many fun conversations and teachable moments that you can enjoy together as a family as you create and enjoy your Ice Ornaments. Below I have included just a few resources to get you started.
Learn About Snowflakes (Optional Resources)
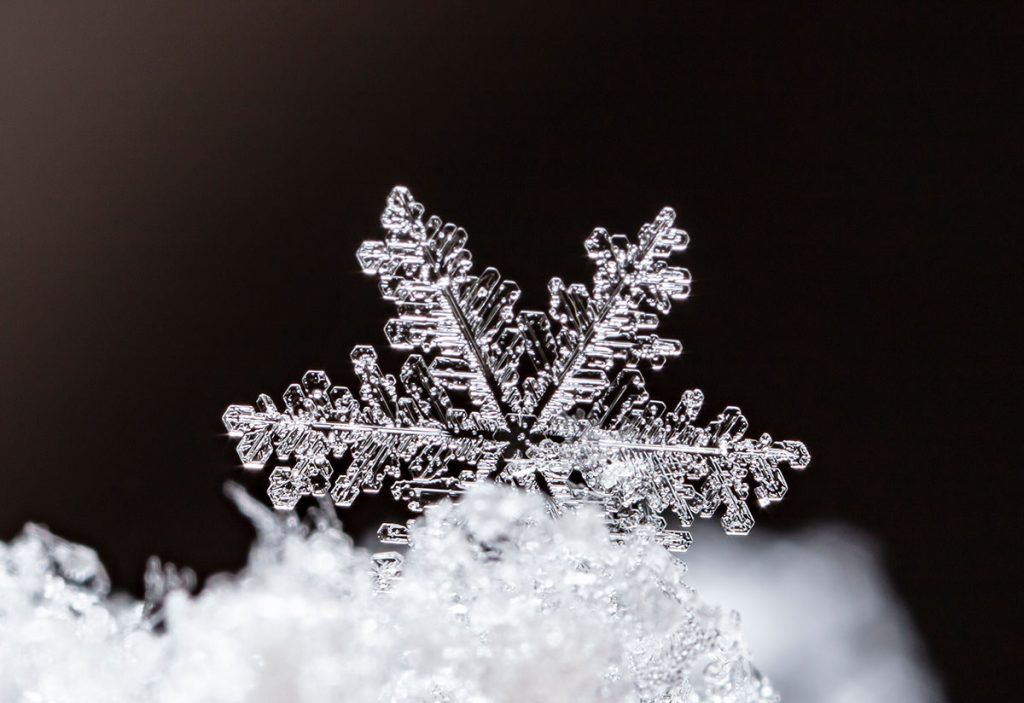
Snowflakes are amazing, intricate little things that present in millions of different shapes and patterns. If you really want to make the most out of this craft, take some time to study and discuss the science behind snow and how snowflakes are formed. Whether you official homeschool or are just leaning into the natural learning that happens at home, I have included a few our our favorite resources that compliment this craft well:
Online Reading
- How Does Snow Form? – MET
- All About Snowflakes – MET
- Water Cycle – Nasa Kids
- The Science of Ice – Kids Discover
Educational Videos
- Why Does Water Turn Into Ice? – KAW
- Snowflakes – Dr Binocs
- How Does Snow Form? – MET
- Where do Snowflakes Come From? – SciShow
- Where Do Icicles Come From? – SciShow
- Why Do We Put Salt on Icy Sidewalks? – SciShow
Kids Books
- “Friends are Friends Forever” by Dane Liu
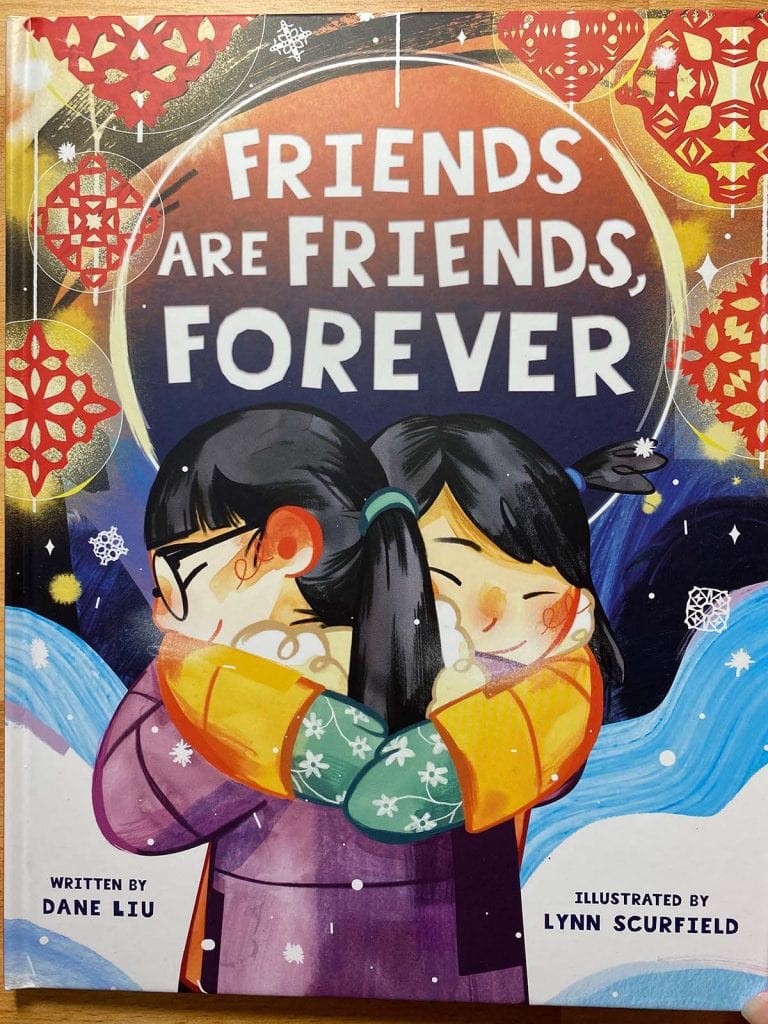
I highly recommend picking up the book “Friends are Friends Forever” by Dane Liu. This book has so much to offer young readers, including an introduction to the Lunar New Year, discussing how hard change can be, and emphasizing the value of true friendship. The book even shows two friends hanging Ice Ornaments!
We loved the pictures so much, we started using red paper for our snowflakes too–it stands out so beautifully against the snow. The kids were super excited to see a craft they love so much featured in one of their books, and it was really fun for all of us to learn more about the role paper crafting plays within Chinese culture.

Originally posted on January 30, 2023.
share
4 thoughts on “2 Ice Ornament Crafts [Science & Sensory Fun]”
Leave a Reply to Cari Cancel reply


Hi, I'm Tania!
Thanks for stopping by DFW Craft Shows! Our blog is home to tons of creative inspiration, gift guides, tutorials, featured artists, and tips for small businesses trying to make their mark in the arts & crafts world.

I love this, especially the nature version! I will definitely be making them with my kids.
This nature version is great! Especially considering the ice storm we just got here in the Dallas area. Good ideas for wiggly little bodies.
These look pretty crafts and would make a good decoration. I miss crafting as it’s been a while since I done one.
I love the suncatcher!!! What a unique and cool idea to try! Thank you!