5 Easy to Make DIY Dog Toys [No Sew, Recycled materials]
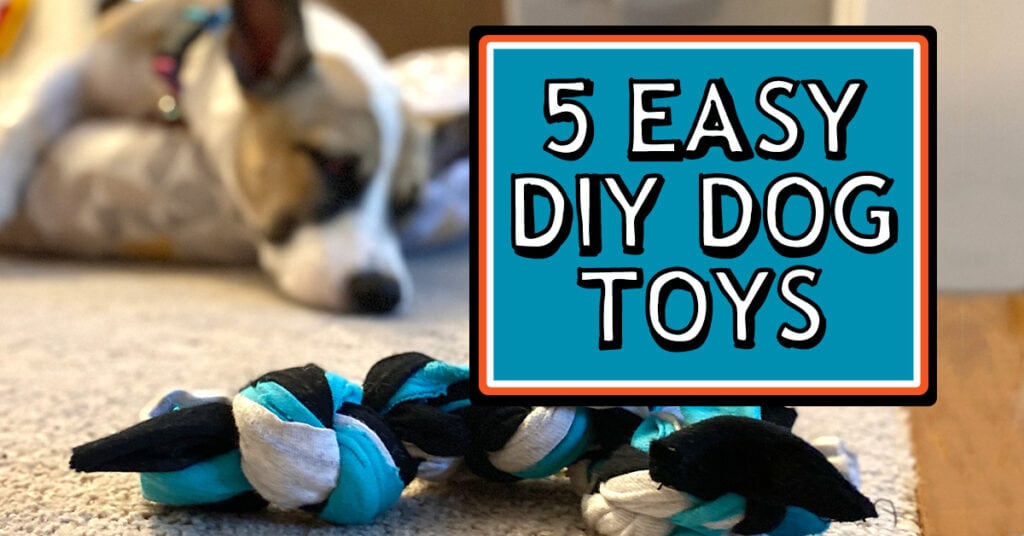
Last week we welcomed a new puppy into our home! Her name is Hazel, and she is an absolute doll. We found her at Take Me Home Pet Rescue in Richardson, and we’ve kept ourselves quite busy making the transition as smooth as possible. Which means lots of snuggles, treats, encouragement, and oh so much play.
It didn’t take long before this house full of crafters started brainstorming lots of DIY Dog Toys to help keep our new puppy happy and busy. Today, I want to show you a few of my favorites. These are super easy, no sew projects that take very little time and require little to no prior crafting experience. With a couple of old shirts or leggings, you can easily make your own DIY Chew Toy, Rope Toy, Enrichment Toy, Fringe Toy, and even a Flirt Pole (BYOP)!
DFWCS participates in the Amazon affiliate program, but DFWCS is in no way associated with Amazon or the items listed in this post. This post may include affiliate links that support DFW Craft Shows at no additional cost to you.
Supplies
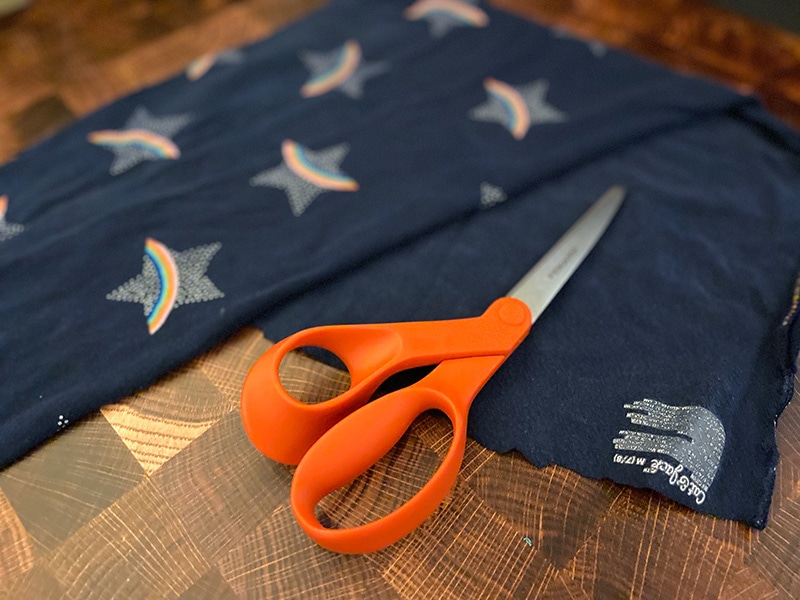
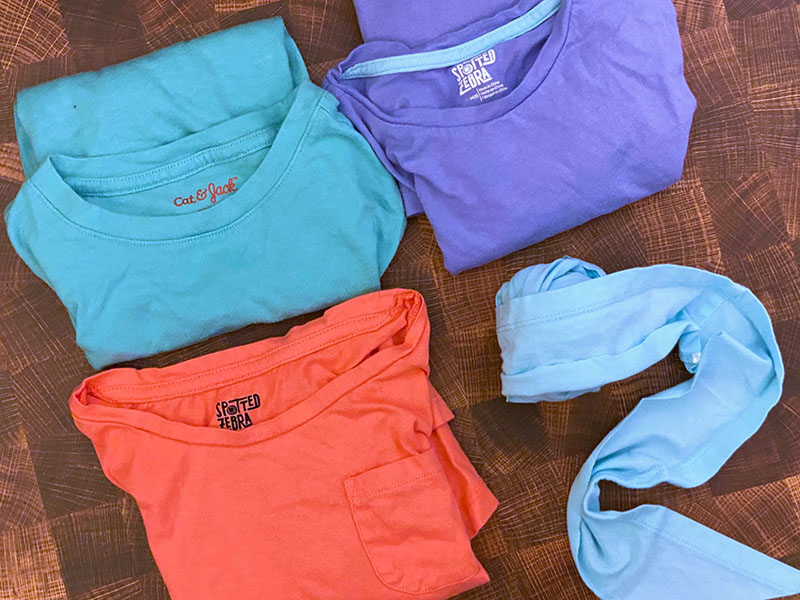
Everybody has old clothing lying around, which makes this supply list a cinch. And, if you’ve got kids in your life, there are lots of ways to get them involved in making their own DIY Puppy Toys. I tasked mine with finding clothing that no longer fit or was too worn to donate. This produced a number of t-shirts and old leggings/pants that were perfect for this project. It motivated the kids to go through their closets, and it made it a little easier to get rid of those leggings that no longer fit “but mom, they are SO cute!”
To get started making your own DIY Dog Toys, you should gather the following materials:
- Knit Fabric – I used recycled shirts and leggings
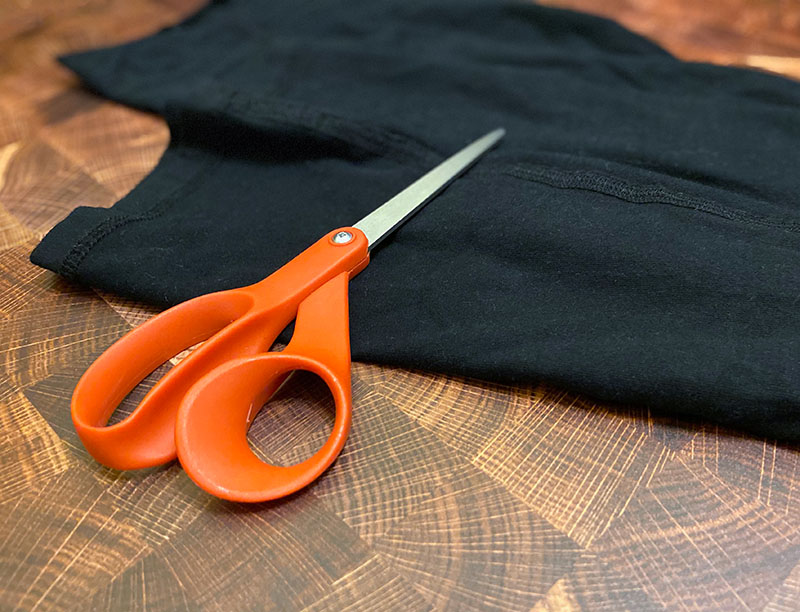
- Fabric Scissors – I prefer Fiskars and use their left handed version
- Small dry dog treats – We use mini milkbones
- A long dowel rod or pole if you are making a Flirt Pole
Why Knits?
There are lots of reasons to love knits. First of all, they don’t fray. Second, they wash up easily. And third, they are everywhere! You can do so many fun things with recycled knits, and this DIY Dog Toy Project is really just the tip of the iceberg. There are also tons of fun projects that you can make with recycled T-Shirt Yarn, which we will discuss later.
Your old t-shirts and leggings will make perfect materials for this project. Pretty much any knit will do, so look around for stretchy materials and gather up some designs and color combos you like.
Tip: If you don’t have any well-loved clothing ready to recycle, you can drop by a garage sale or find plenty of affordable knits in the clearance section at Joann. Fleece also works well for all these DIY dog toys!
Safety First
Knits (and fleece) are great for a lot of reasons, but one of my favorites is safety. These bulky, fray-free materials make great alternatives to traditional rope toys, which can be dangerous for dogs. When traditional rope toys start to break down (or if your dog is simply an aggressive chewer), it is possible that your dog could digest some of the strands, and that can cause a variety of digestive problems, some even life-threatening.

Purpose of your DIY Dog Toy
Now that you’ve found your favorite knits to work with, it’s time to start thinking about your pet and your project. Is your DIY Dog Toy more for self entertainment, dog enrichment, or tug of war? You don’t have to pick only one, but the primary purpose will inform your decisions as you cut and prep your materials. For example, a DIY Rope Toy will need to be thicker to withstand the raw strength of your dog and longer to give your hands a safe space and good grip.
In this tutorial, I am going to walk you through how to make a DIY Dog Rope Toy, Chew Toy, Enrichment Toy, Fringe Toy, and Flirt Pole. Most of the toys can incorporate more than one purpose, and I will cover each type in more detail after we Prep our materials. It is not be a bad idea to read through and identify which toys you like best before you start to make your cuts.
Prepping your materials
There are 3 different cutting techniques that can be used for your DIY Dog Toys. They are all pretty simple, so it really just depends on what toys you want to make and which method speaks to you:
Below I will outline the Easy Peasy Approach which can be used as the foundation for the DIY Dog Rope Toy, DIY Dog Chew Toy, and the DIY Dog Enrichment Toy. For those crafters who want to go the extra mile, the T-Shirt Yarn Method will help you create longer, more uniform strips and is a great way to stock pile yarn for other projects. If you are interested in this approach, please check out our How To Make T-Shirt Yarn Tutorial to get started.
I will walk you through the third method, Fringe Fest, in the DIY Fringe Dog Toy section. This approach is extremely simple and makes for a satisfying, quick, and fun project.
Once we are all done prepping and cutting, I will show you how easy it is to use your scraps to create a fun DIY Flirt Pole.

Easy Peasy Approach
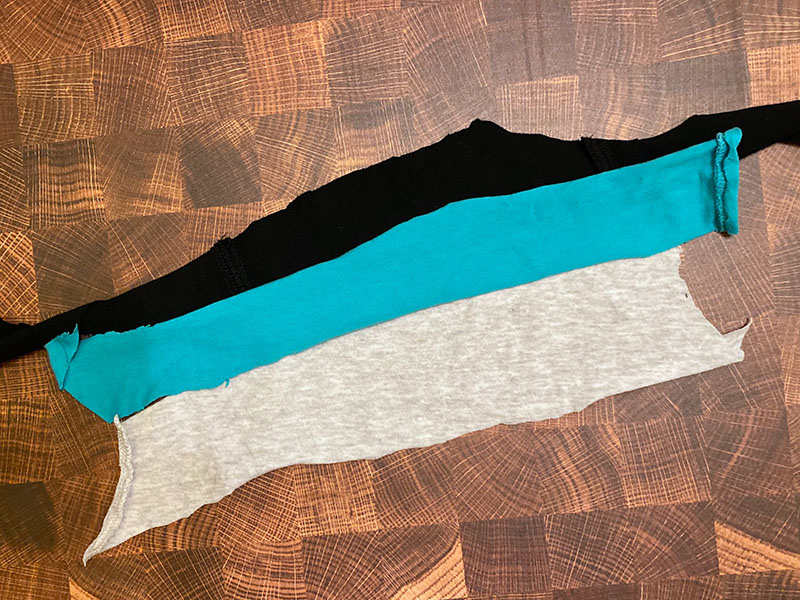
This is a very simple and straightforward approach to prepping your materials. There are just a few things you need to keep in mind as you start making your cuts. The width of your knit strips, along with the number of strips, will both contribute to how thick your DIY Dog Toy is, and, as a result, how much force it can withstand. You have a lot of options, and it mostly depends on how much material you have and how many toys you want to make.
- First, trim the collar part of your shirt off. You can trim off the sleeves as well or keep them attached for some longer strips. If you are using leggings, cut off the elastic on the top.
- Next, cut one of the side seams on your shirt. Leaving the other side attached will allow you to create strips that are twice as long when unfolded. If you are using leggings, go ahead and cut both side seams unless you are making a fringe toy (skip ahead).
- Start cutting thick strips across your shirt, ending by cutting through all the way through the seam. If you are using leggings, you will want to cut length wise instead, dividing your leggings up into sections as best you can. They won’t be uniform if your pants are tapered, but that’s okay. Just do your best.
- Experiment with the thickness of your strips to achieve the look you want. The thicker you make your strips, the hardier and thicker your DIY Dog Toy will be. Do not cut the strips any thinner than 1″.
There are no wrong answers here. You don’t have to measure or worry about consistency. Just remember that wider is better when it comes to durability. If your strips end up thinner than you had hoped, do not despair! You can fortify them by simply adding in more strips!

T-Shirt Yarn Method
If you have decided to use the Easy Peasy Approach, you can skip this section. The T-Shirt Yarn Method is slightly more involved than the Easy Peasy Approach, but there are a few advantages to taking the extra time:
- Longer, continuous strips of fabric
- Leftover T-Shirt Yarn for other projects
- More creative freedom in your designs
I have a separate tutorial on How to Make T-Shirt Yarn that walks you through the entire process. Once you’re finished, pop back over here to start turning your DIY T-Shirt Yarn into your DIY Dog Toys!
DIY Dog Rope Toy
Rope Toys are a great way to satisfy your dogs need to nip, bite, chew, pull, and shake while protecting your own hands. The fact of the matter is, puppies use their mouths to learn and play. It’s perfectly natural–but it’s also important to direct and encourage that behavior where you want it to happen. Your DIY Dog Rope Toy will be great for this.
It is a good idea to make your fabric strips longer when making a DIY Dog Rope Toy. This will give your hands plenty of safe space when playing tug of war with your dog or puppy.
- Gather all your strips together and tie them into one large knot. The number of strips you use will depend on how thick you cut them to begin with and how thick you want the final product to be. It’s always best to start with more than you think you will need because the design itself will compress.
- Begin to braid/plait or knot your toy using groups of strips as needed. For a braid, you will segment your strips into three groups. If you to use a knotting technique, split your strips into two groups. The tighter you weave your toy together, the hardier it will be.
- Continue braiding / knotting your toy until you approach the end. Leave enough room to knot the toy off again. If you run out of space for another big knot, you can finish your toy off with a series of smaller knots to keep it from unraveling.
The DIY Dog Rope Toy, when planned properly, can also act as both a dog chew toy and/or meet your dog enrichment goals as well. See below for more information.
DIY Dog Chew Toy & DIY Dog Enrichment Toys
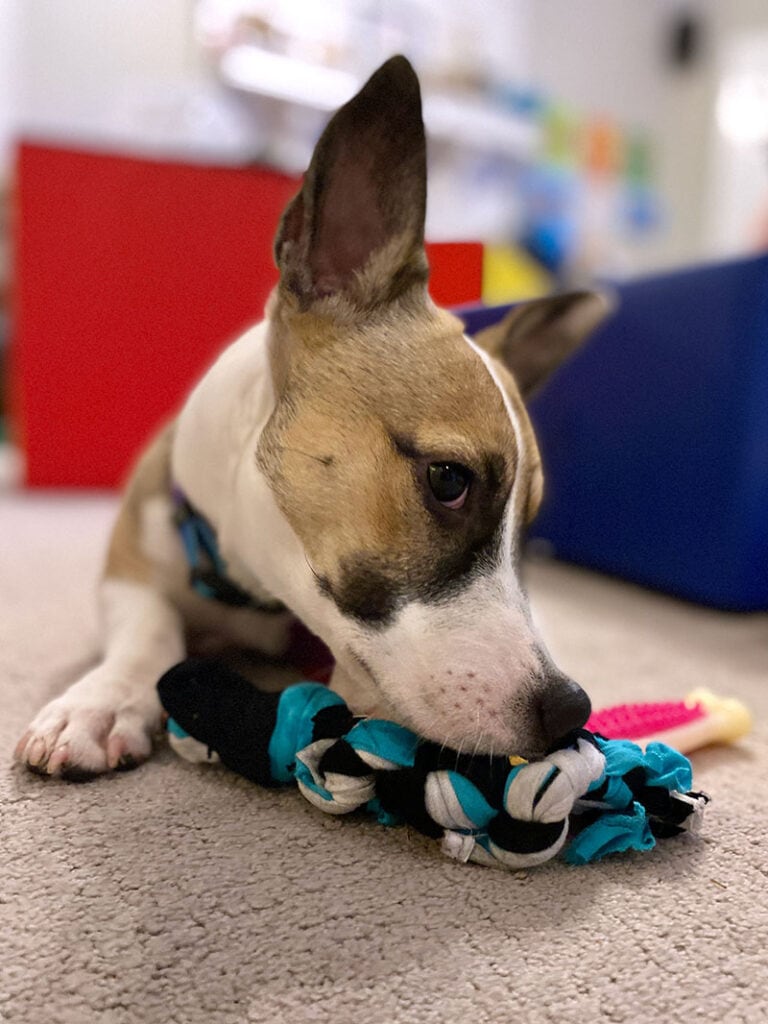
Most of our DIY dog toys have fallen into the category of DIY Dog Chew Toys and DIY Dog Enrichment Toys. Some of them were meant to be DIY Dog Rope Toys, but they ended up shorter than I would have liked. This was really only a problem for me–Hazel still grabbed them the minute they hit the ground and ran off for some quality chew time. (Honestly, we still play tug of war with them, but my hands aren’t as safe as they could be.)
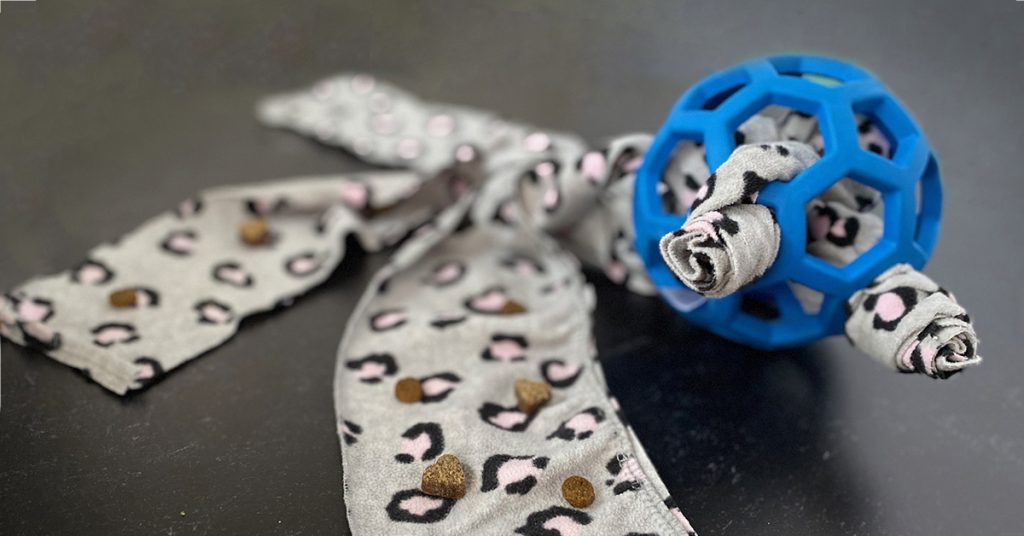
A Dog Enrichment Toy is any kind of toy that encourages your dog to problem solve and stretch their brain muscles. When plaited / braided / knotted properly, your DIY Dog Chew Toy or DIY Dog Rope Toy can also double as DIY Dog Puzzle Toy. Hide treats inside the knit weave and you’ve basically got yourself a little DIY Snuffle Toy.
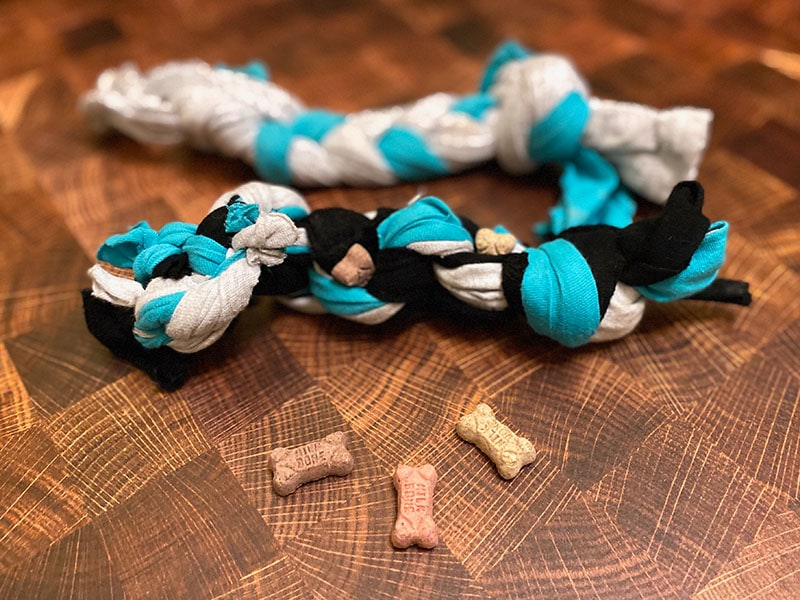
For assembly of the DIY Dog Chew Toy & DIY Dog Enrichment Toy, you will follow the procedure outlined above in the DIY Dog Rope Toy, with two important notes:
- If your focus is for a DIY Dog Chew Toy, you will want to make the braid as tight as possible.
- If you want to include enrichment opportunities, build in just enough slack to squeeze treats in between the weave. I have found that the knotted version works best as a DIY Dog Puzzle or DIY Dog Enrichment Toy.
- The more strips you use, the more spaces you will have to add in treats. You can even knot your entire braid into a ball for more hiding opportunities.
For our DIY Dog Puzzle treats, I mostly use mini milkbone treats. They are long enough to slide into the braids/knots easily, but the ends catch to make removing them a bit of a challenge. The softer treats tend to get the fabric dirtier faster and are at a higher risk of just getting smashed into the toy.

DIY Fringe Dog Toy
The DIY Fringe Dog Toy is by far the easiest and simplest DIY Dog Toy of the group. Ironically, it is also one of our dog’s favorite toys and a definite go-to activity for everyone in the house. Though the DIY Fringe Dog Toy may not be incredibly durable for large or extremely strong dogs, its quick and easy construction means that replacing it will only require a moment of effort. Worth noting, ours has seen heavy play with our 20lb puppy and is still going strong.
To create the DIY Fringe Dog Toy, we will be using The Fringe Fest Method. This method works really well with leggings, kids leggings, or the leftover long sleeves from your old shirts. It is a very simple technique that creates a long piece of fringe perfect for play and puppy tug-of-war. The durability of this toy will depend entirely on the thickness of the material you are using, the strength of your dog, and the width of material you leave between the fringe.
- Start with a single pant leg from one of your leggings, a long sleeve from one of your shirts, or a long narrow piece of fabric.
- Trim the seam along one side of your pant leg or shirt sleeve. If you are using a long piece of fabric, fold it in half to create one long connected edge.
- Cut strips of fabric about 2″ – 3″ wide. Stop when you are approximately 1″ away from the seam.
That’s it! You are creating one long piece of fringe to drive your dog nuts with. Hold one end, or both ends, shake it, anchor it, and let your dog try to drag it away from you. I like to loop it around my hand for more leverage. My kids like to hold the fringe and run around the house. Like I said this is one of our dog’s FAVORITE toys to play withm and it is oh so very simple to create no matter your age or crafting experience.

DIY Flirt Pole Dog Toy
A Flirt Pole is anything fun you can dangle, bounce, or inspire play with. It’s usually involves a long line and/or pole. I have created both Flirt Poles on an actual pole and others that were just a line that I held and threw by hand. As a child, we had lots of Flirt Poles for our cats. There isn’t anything dog-specific about these Flirt Poles; my test audience just happens to be all canine at the moment. The awesome thing about DIY Flirt Poles is that they are the perfect project to use up all the scraps you have leftover from your other DIY Dog Toys.
- Take any of your spare strips, scraps, or leftover T-Shirt Yarn and knot them together to create one long line of your desired length. Set aside.
- Use any leftovers to create at least 4 strips that are about 1″ – 2″ thick and at least 6″ long.
- Gather the shorter strips together into a bundle.
- Using the end of the line we created, tie the middle of your stack together tightly and knot securely. (If you are feeling extra, you can make a full tassel formation.)
- If desired, attach the other end of your line to a long dowel rod or sturdy pole. Otherwise, use your arm and get to throwing.

Let the play begin
If there are two things I cannot get enough of, it’s puppy pictures and crafting. It was not hard to motivate myself to write this post because I got to focus on both! I hope you find these ideas inspirational and your dog enjoys their new selection of affordable, recycled toys.
If you find yourself in a groove, why not make a few extra and donate them to your local rescue or shelter? There are lots of dogs out there that could use a little extra love, and fostering or adopting is not the only way you can help them. All our shelters and rescues here in North Texas are completely overwhelmed with pets right now. I think they would all be grateful for a little extra help keeping their animals happy and healthy until they find their forever homes.
If you do happen to be looking for a new addition to your family, please check out your local shelters and rescues. Personally, we had a wonderful experience with Take Me Home Pet Rescue.

Originally posted on November 08, 2022.



Such good ideas!
Thank you, Laura!
First – your pup is adorable – absolutely LOVE the pictures. I’m so inspired to try my hand at DIY dog toys. I’m sure my pup will enjoy the suggestions. Thank you for sharing!
Thank you so much! We think she’s pretty neat too. <3. Have fun and I hope your pup enjoys the new toys!
Awesome list, I’m so excited to try some of these DIY dog toys, as we always have old clothing around in our big house! My kids will have a blast helping with this project.
It really was the first time they cleaned out their closets with such gusto and enthusiasm. I hope your kids have lots of fun making their new DIY dog toys!
These are great ideas, I’ve made a few of these in the past for my dogs. It’s nice to be able to reuse our old clothes and turn them into something fun for our fur babies.
I agree. Especially for those of us who get sentimental about clothing, it’s nice to repurpose them into something new and beloved for our pets.
These are really cool ideas! Hazel is so cute! I hope she’s settling in well!