
How to make T-Shirt Yarn

We love recycling and reusing supplies around here, and clothing is no exception. I have used old shirts and leggings for everything from crafting to gardening (and a million projects along the way). I knew we would need some T-Shirt Yarn to create all our DIY Dog Toys this week, so we grabbed some old clothing and jumped right in. Here is a quick and easy process for making shirt spaghetti aka DIY T-Shirt Yarn.
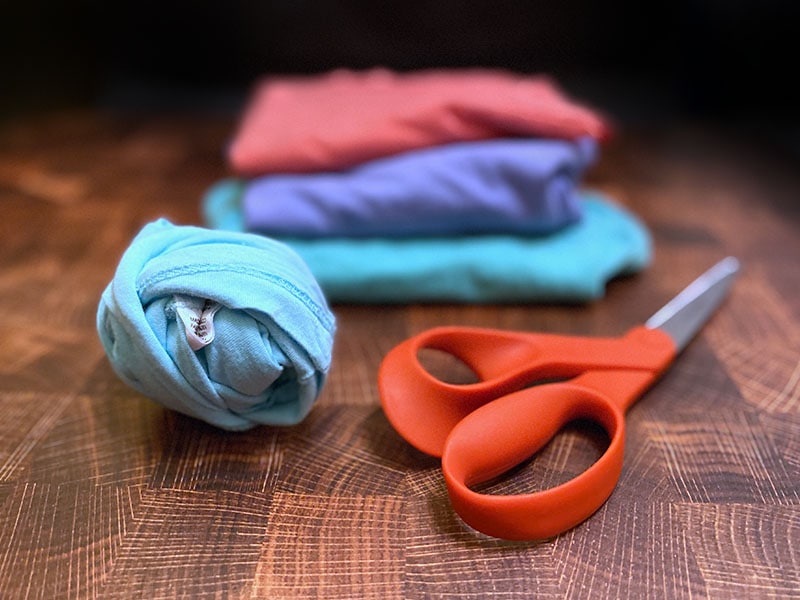
Supplies
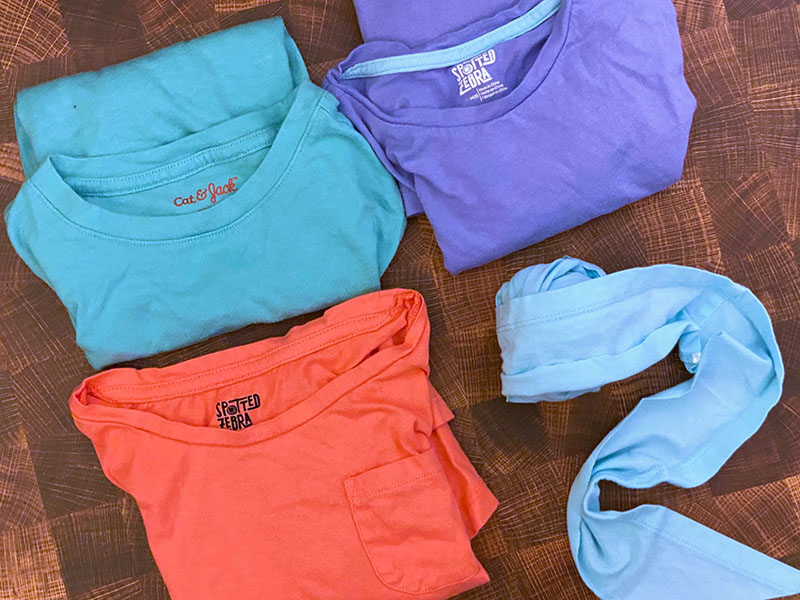
As you might have guessed, the go to supply for making DIY T-Shirt yarn is… you guessed it… T-Shirts! But T-Shirt Yarn can really be made of any knit fabric, so don’t limit yourself. Grab anything that is soft and stretchy! For our family, that meant plenty of short sleeve shirts, long sleeve shirts, and leggings. (If you are running low on well-loved or outgrown clothing, swing by a garage sale or pop by the clearance section at Joann. Both are great ways to find cute knits for cheap!)
- Knit Fabric – I used old shirts and leggings
- Fabric Scissors – I prefer Fiskars and love their left handed version
Why Knits?
I love knits for a lot of reasons. They are especially easy to work with for no sew projects because, unlike most fabrics, knits don’t fray when you cut them. Why does that matter? Well, it means your project can have raw edges, and you won’t have to worry about it unraveling. Other fabrics would require you to pull out ye ‘ol sewing machine or serger to finish off the edges in order to prevent fraying. Also, knits are everywhere, and recycling old clothing is a great way to purge your closet without feeling like you have to toss that super cute shirt that you’ve had for years.
The Process
The process of making T-Shirt Yarn aka Shirt Spaghetti is not overly complicated. Despite that, many folks find the idea of how to convert a single shirt into a long, continuous piece of knit yarn to be mind-boggling. Don’t worry! I took a lot of pictures to walk you through the process. Once your brain locks onto the methodology, making T-Shirt Yarn is pretty straightforward.

1. Prepping your fabric
For shirts: start out by cutting a straight-ish line across your shirt, right below the bottom of the sleeves so you have a nice little rectangle loop of fabric.
For leggings: cut a straight-ish line right below the inseam so you have two separate pant legs. Leave both side seams intact.

2. Fold your fabric
Fold your shirt or leggings in half so that both side seams are touching. Now, lower the top seam by approximately 2″ – 3″. Obviously leggings are not as wide at T-Shirts, so you will have a little less room to work with on your pant legs. Just do your best to create a decent gap between the seams.
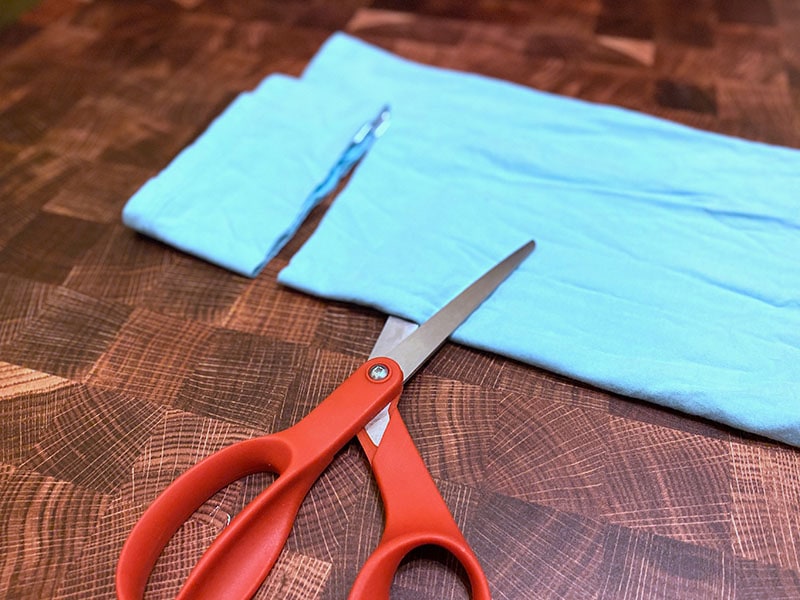
3. Cut your strips
Because T-Shirt yarn can be made in a variety of widths, you’ve got plenty of flexibility in how you want to approach the cutting part of this project. Regardless of what you decide, I do not recommend making your sections less than 1″ wide. If you are creating T-Shirt Yarn for use in our DIY Dog Toys tutorials, I would aim for 3 – 4″ wide strips.
Side Note: Side Note: I like this project because it is quick, easy, and forgiving. I do not bother measuring and marking my widths. I just eyeball the fabric and start cutting. If you prefer to be meticulous, this is where you will want to stop and work on that.

Now is the time to start cutting. You want to start your cuts from the bottom of your fabric and keep going until you are just above the first seam. Do not cut all the way through both seams! You want there to be a gap of uncut fabric between the seam you just cut and the top seam. Continue this until you have cut strips throughout your entire shirt or pant leg.

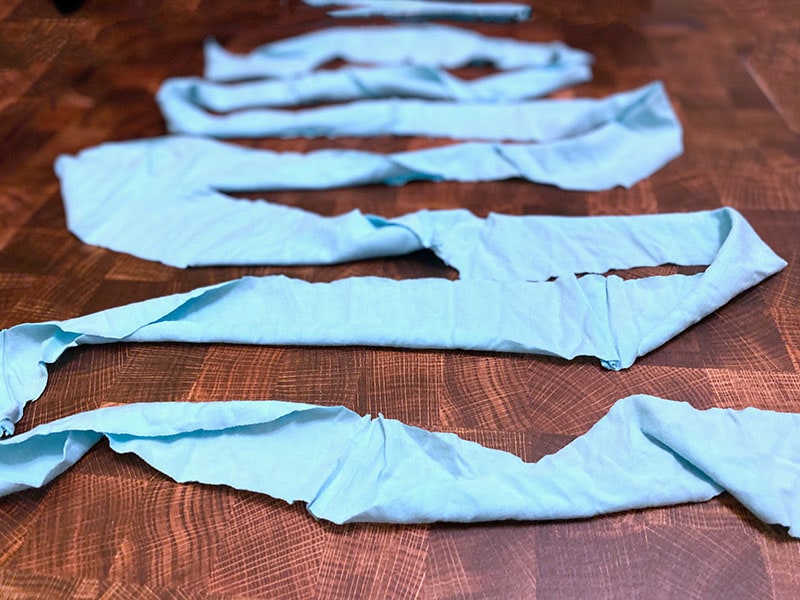
4. Trim your loops
You should now have a large loop of fabric divided into several sections. We are going to make some strategic cuts in that loop to turn your shredded shirt into a continuous strand of T-Shirt Yarn. I find the easiest way to navigate this part is by sliding my non-dominant arm through the entire loop of fabric to separate the top from the bottom. What a nice arm brace you have now! Let’s get to work.
This part can seem tricky, but just like those 3D posters that we were all staring cross-eyed at in high school, it’s really not that complicated once you get the hang of it. If we were to finish the cuts on the top part of this fabric by trimming vertically, we would basically end up with a long piece of fringe instead of a continuous strip of T-Shirt Yarn. That long piece of fringe makes for a GREAT Dog or Cat Toy, but that’s not what we are doing for this project, so we need to re-evaluate.
Instead of cutting straight up and down, we are going to cut diagonally. Use the image above to help your brain solve the puzzle. Using your arm to separate the top and bottom pieces of the loop, match up each strip to the strip before it with a diagonal cut as shown above. Now, instead of fringe, you have one continuous strip of T-Shirt Yarn that keeps going and going and going.
5. Roll it up!
Your yarn is done! You can repeat this process for whatever other shirts or pant legs you have left at this point. Choosing various colors and designs will ensure that all your T-Shirt Yarn projects are both eye-catching, colorful, and fun. Better yet, each project will also speak to your own unique style since you are, in fact, repurposing your very own wardrobe.

Oh, the potential!
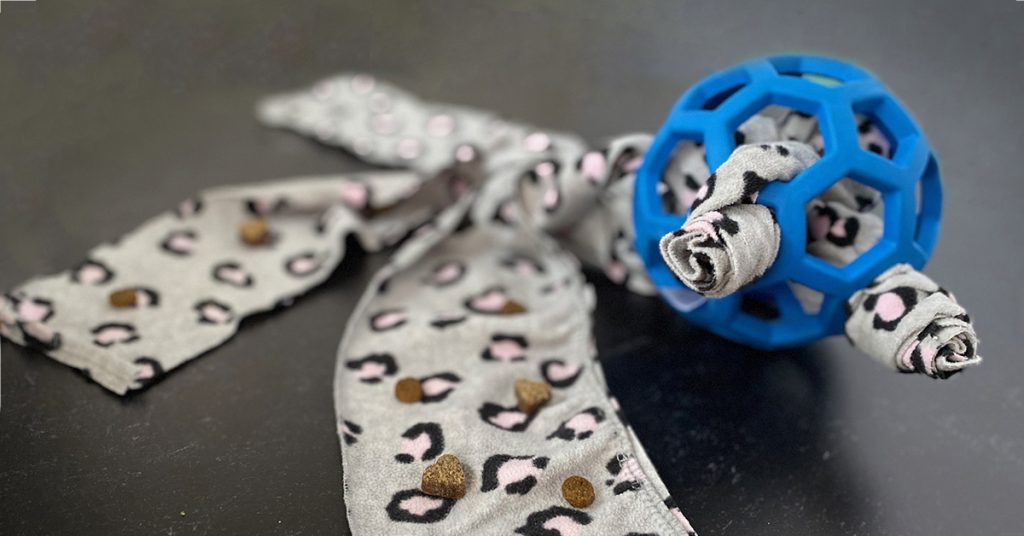
T-Shirt Yarn is a lot of fun to work with for a variety of projects. As I mentioned before, we are using ours to create our own DIY Dog Toys, including Rope Toys, Chew Toys, Enrichment Toys, and even Flirt Poles! T-Shirt Yarn is also a lot of fun to crochet or weave with, giving you a variety of projects to try out like: decorative storage baskets, rugs, potholders, bags, coasters, jewelry, stuffies… the sky is the limit! Actually, maybe your closet is the limit? Go forth and recycle, reuse, and remember to hide your fabric scissors when you are done.

Originally posted on November 08, 2022.
share
3 thoughts on “How to make T-Shirt Yarn”
Leave a Comment


Hi, I'm Tania!
Thanks for stopping by DFW Craft Shows! Our blog is home to tons of creative inspiration, gift guides, tutorials, featured artists, and tips for small businesses trying to make their mark in the arts & crafts world.

I used to do a lot of DIYs projects reading through this tutorial made me miss them. This is easy and fun to make. Thank you for sharing!
Ah, I’m glad to ignite some nostalgia for you, Fransic. Have fun crafting! <3
This seems like a fun and relaxing project! I have a ton of yarn from Dollar Tree that I havent used it, but now I can make something super cute.